Mastering the Sniper Sequence in Cyberpunk 2077 Phantom Liberty
Master the intense sniper overwatch in Cyberpunk 2077's Phantom Liberty 'You Know My Name' quest, with tips for disabling cameras, mines, and guards.
I've been diving deep into the Phantom Liberty DLC for Cyberpunk 2077, and let me tell you, the sniper sequence during the "You Know My Name" quest is one of the most intense moments I've experienced in Night City. This high-stakes infiltration mission demands precision, timing, and quick decision-making as you provide overwatch for Solomon Reed while he infiltrates a heavily guarded facility.
The Setup: Underwater Infiltration
The mission kicks off with an exciting underwater approach to the Black Diamond area. Using the Tactical Diving Suit that Alex provides earlier in the campaign, Reed and I make our way to a tower submerged beneath the waves. The atmosphere is tense as we eliminate guards protecting a lookout nest positioned near Hansen's gala. Once we secure the sniper tower, the real challenge begins.
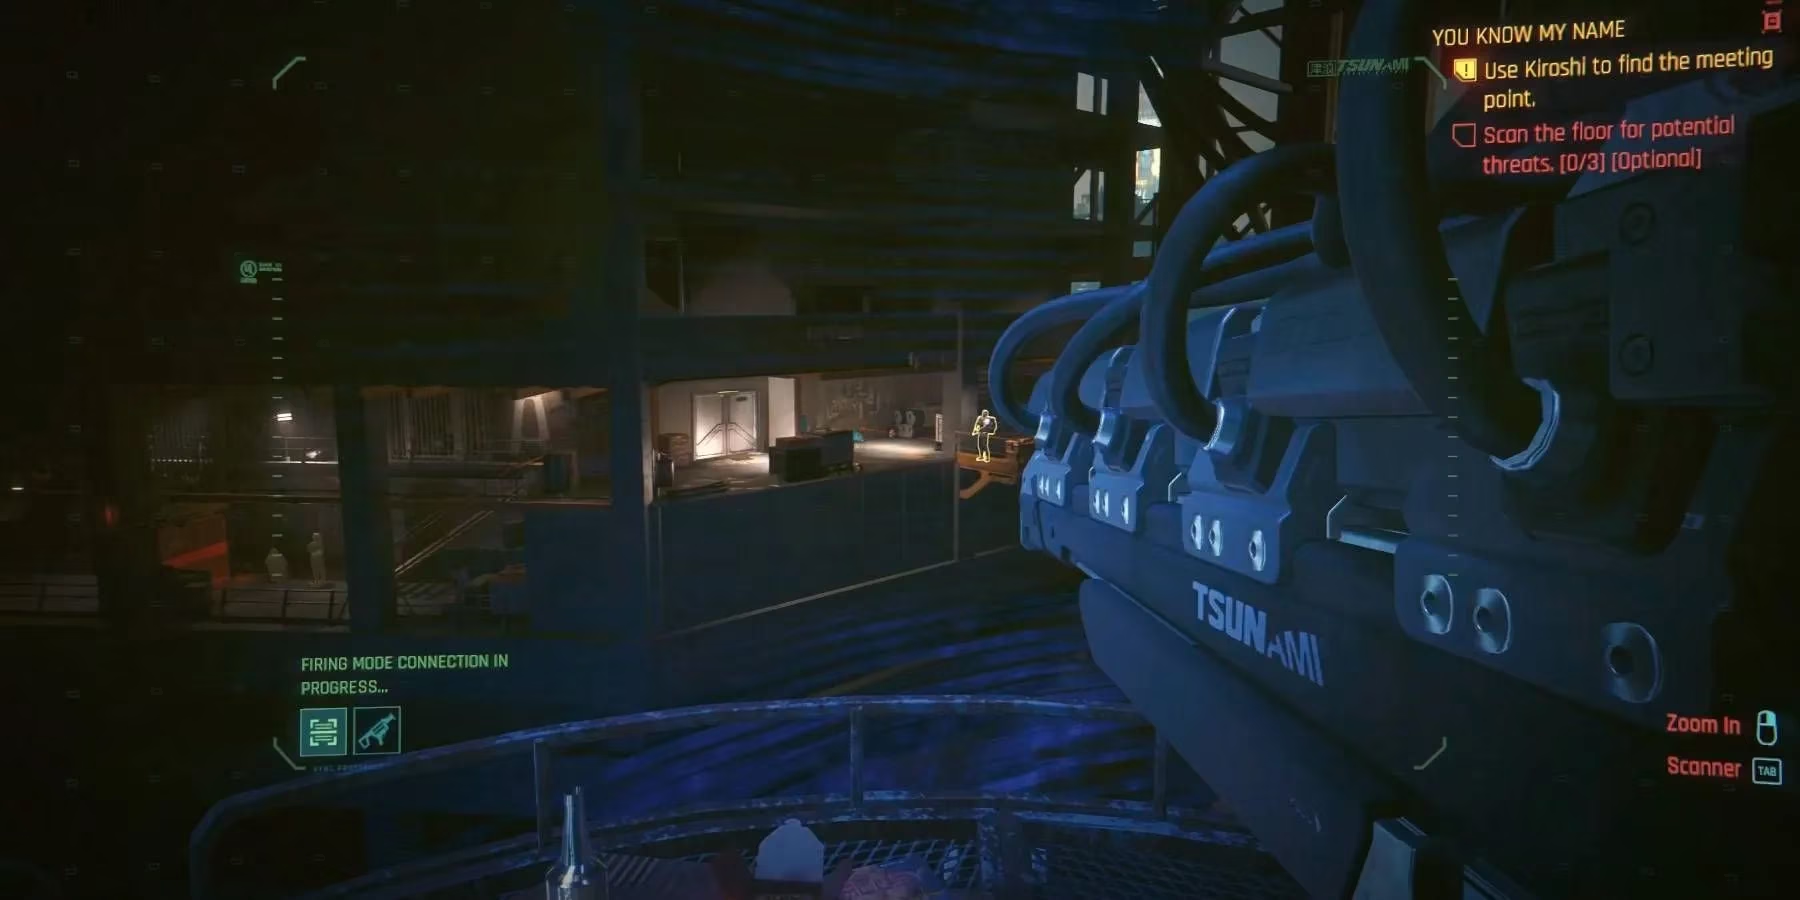
Taking Control of the Tsunami Sniper
When I first grabbed the Tsunami sniper rifle, I realized this wasn't going to be your typical shooting gallery. The sequence requires careful observation and tactical thinking rather than just pulling the trigger. My job is to scan the environment for threats, disable security systems, and eliminate guards—all while keeping Reed's position completely hidden from enemy detection.
The pressure is real here. 😰 One wrong move, one missed shot, and the entire facility goes on high alert, making the rest of the mission significantly harder.
Initial Reconnaissance: What to Scan First
Before Reed makes his move, I need to gather critical intelligence. Here's what I prioritize during my initial sweep:
-
The explosive mine directly in Reed's path
-
Security cameras throughout the facility that could compromise our position
-
Guard patrol patterns and their positions
-
The container bridge on the left side—this marks Reed's eventual destination
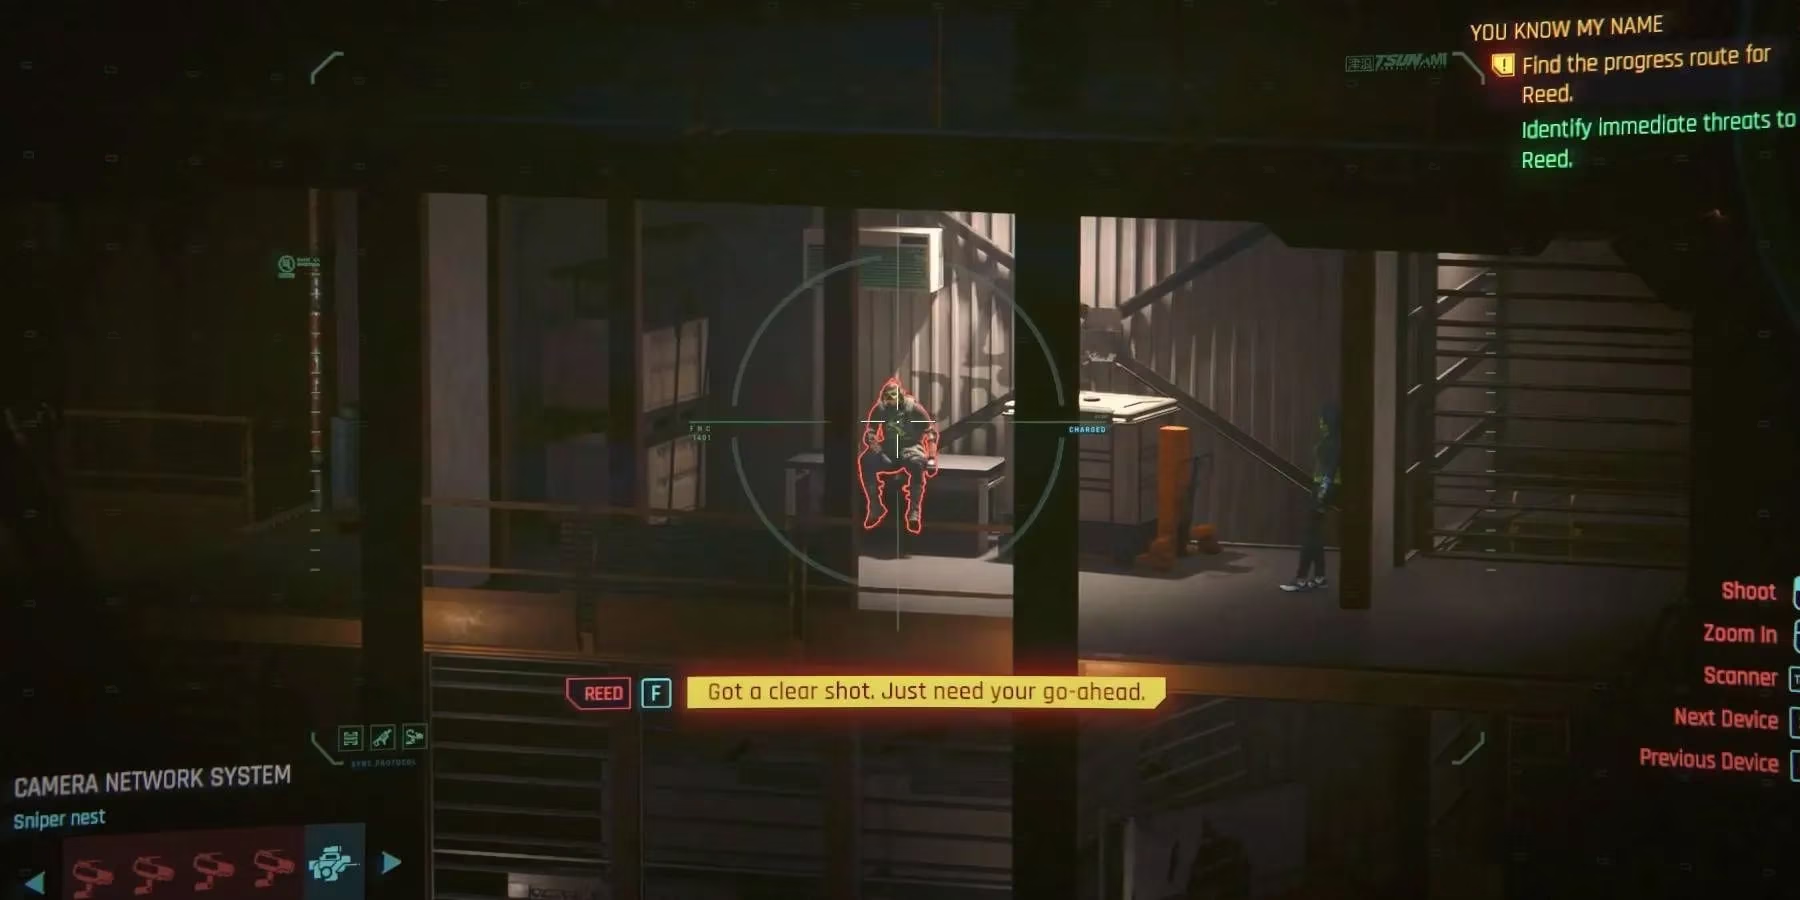
This reconnaissance phase is crucial. Missing any of these elements can cascade into disaster later in the sequence.
Clearing the Path: Step-by-Step Strategy
Phase One: Mine and Camera Neutralization
Once I've tagged all the threats, Reed disables the mine I identified. He then takes cover as a guard patrol approaches. Here's where my earlier camera work pays off—if I successfully disabled those cameras, Reed can move through this area without engaging the guards at all. He sneaks past them and reaches a nearby sensor.
Phase Two: Power Source Elimination
Using my enhanced cyberware, I trace the sensor's power cable back to its source. A single well-placed shot takes out the power supply, clearing Reed's path forward. This is one of my favorite moments—it showcases how Cyberpunk 2077 blends shooting mechanics with problem-solving. 🎯
Phase Three: The Guard Duo
The next area presents two guards: one casually sitting on a table, another standing by a wall. Timing is everything here. I line up my shot on the seated guard, taking him out with a clean headshot while Reed simultaneously eliminates his partner. The coordination feels incredibly satisfying when executed properly.
Phase Four: Elevator Complications
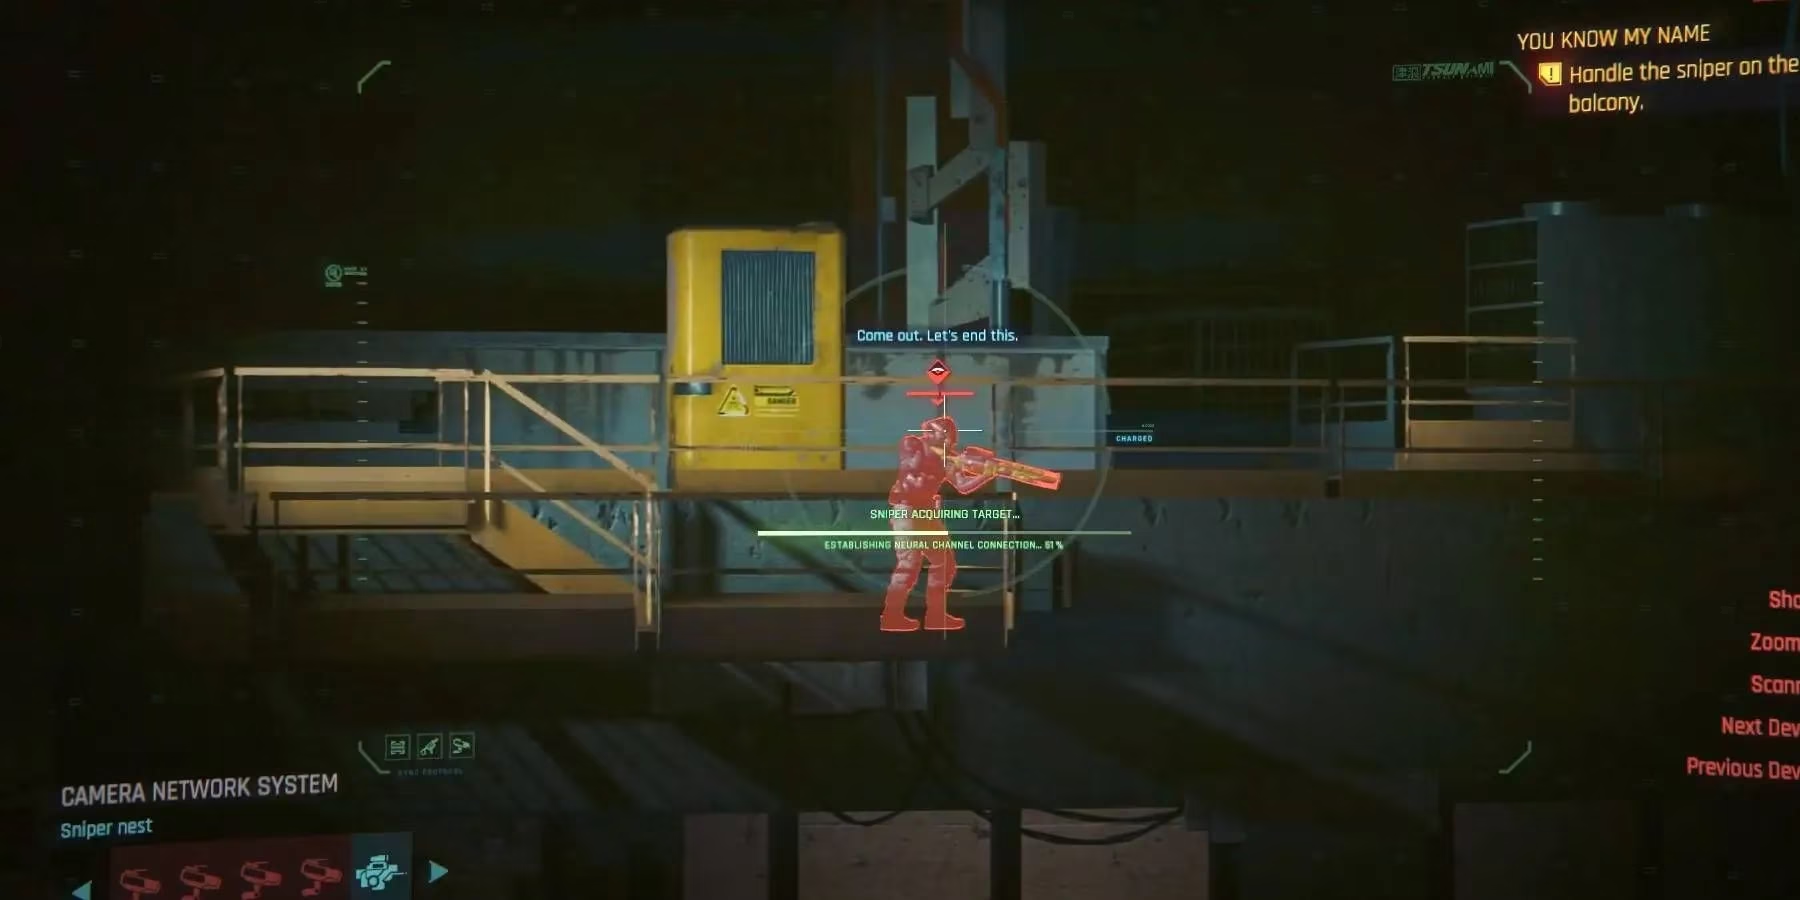
As a small patrol descends from an elevator, things get dicey. A sniper spots Reed, and I have mere seconds to neutralize the threat. After eliminating this immediate danger, I hack into a camera system in the area beyond the elevator.
Phase Five: Wall Penetration and Final Cleanup
This camera hack is genius—it allows me to tag an enemy through a solid wall. Using the Tsunami's penetration capabilities, I take out this guard without direct line of sight. Finally, two remaining guards spot Reed's position, and I quickly eliminate both to conclude the sequence.
Pro Tips for a Perfect Run
| Challenge | Solution |
|---|---|
| Camera Detection | Always neutralize cameras first—they're your biggest threat |
| Timing Shots | Wait for Reed's signal before eliminating targets |
| Ammo Conservation | Every shot counts; make headshots your priority |
| Power Systems | Follow cables carefully; destroying wrong targets alerts guards |
The Stealth Advantage
Completing this sequence without being detected transforms the rest of the mission. When enemies remain unaware of your presence, you maintain tactical superiority throughout the facility. I cannot stress enough how much easier the subsequent sections become when you nail this sniper segment perfectly.
The alternative—triggering an alert—means facing waves of reinforcements, losing the element of surprise, and potentially missing out on dialogue options and story beats that only occur during stealth approaches.
What Comes Next
After successfully completing the sniper sequence, the mission continues with Reed as we search for the enigmatic Songbird. The skills and patience required for this sniper section set the tone for the rest of Phantom Liberty—this DLC rewards careful planning and precise execution over run-and-gun tactics.
Final Thoughts
This sniper sequence represents some of the best mission design I've encountered in Cyberpunk 2077. It combines multiple gameplay elements—reconnaissance, hacking, precise shooting, and tactical coordination—into a cohesive, thrilling experience. While it can be challenging on your first attempt, mastering this section is incredibly rewarding. 🎮
For players tackling this mission in 2026, the Phantom Liberty DLC continues to stand as one of the strongest additions to the Cyberpunk 2077 experience, with this sniper sequence being a perfect example of why. The attention to detail, the strategic depth, and the sheer satisfaction of a perfectly executed infiltration make this one of my favorite moments in the entire expansion.
Take your time, plan your shots carefully, and remember: in this sequence, patience and precision trump aggression every time.